Eligibility checks help save time for both Administrators and applicants. InfoReady allows Administrators to handle these checks in a variety of ways. The two most common are:
- Using the built-in Eligibility Criteria tool
- Sending users to a separate page once it's determined they're ineligible
Both of these methods involve utilizing conditional logic (part of Form Designer Pro) to alert applicants of their eligibility status.
Use the Eligibility Criteria Tool
This is the simplest method to determine and communicate with applicants about their eligibility status.
1. Create any questions that determine eligibility.
- For example, faculty rank, undergraduate classification, prior award recipient, etc.
- You can use any question types to create these questions.
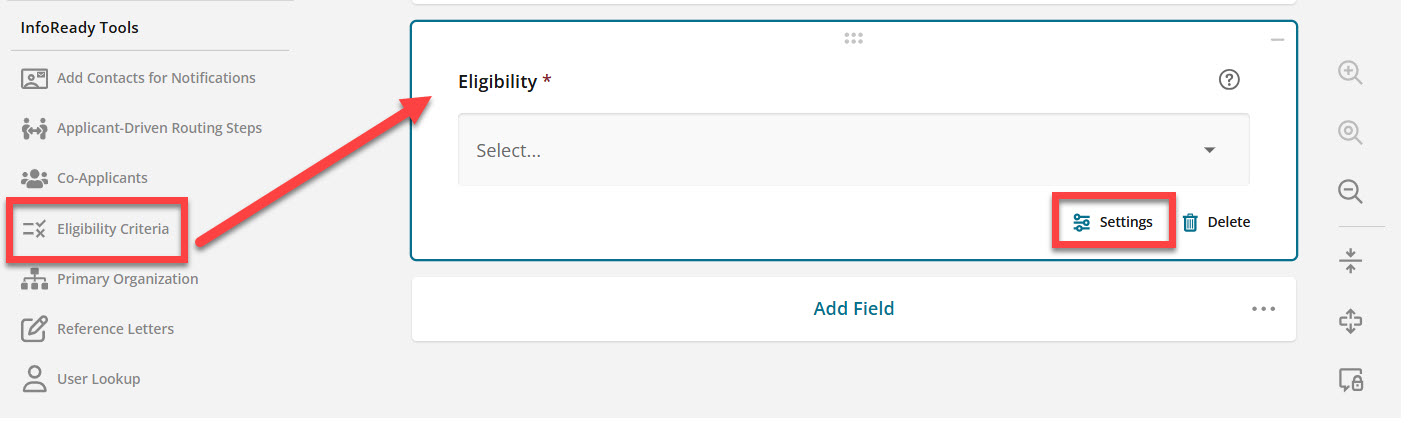
2. Add the tool to the form.
- You may place it anywhere, though we recommend putting it immediately after the eligibility questions.
- The Settings area pops out automatically but can be re-visited at any time.
- Edit the default "Instructions" if needed.
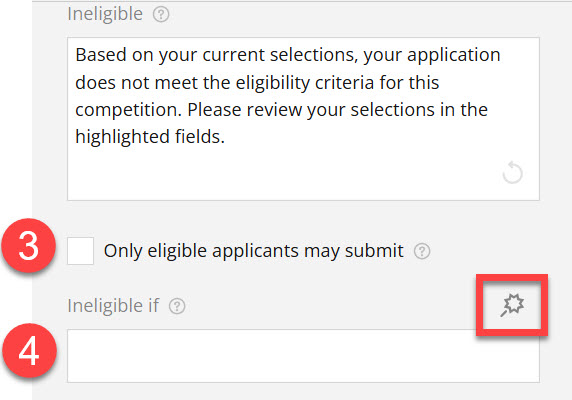
3. Decide if ineligible applicants are allowed to submit.
- Default options is that even ineligible applicants can still submit.
- Check the "Only eligible applicants may submit" box to prevent submissions from ineligible applicants.
4. Configure ineligibility criteria.
- Click the magic wand icon to display the "Ineligible if" screen.
- Use standard conditional logic rules to configure which questions and response make an applicant ineligible.
- For additional tips on setting up conditional logic, view this article.
Applicant Experience
As the user is filling out the form, when they reach the "Eligibility" field, they will see one of these three options:
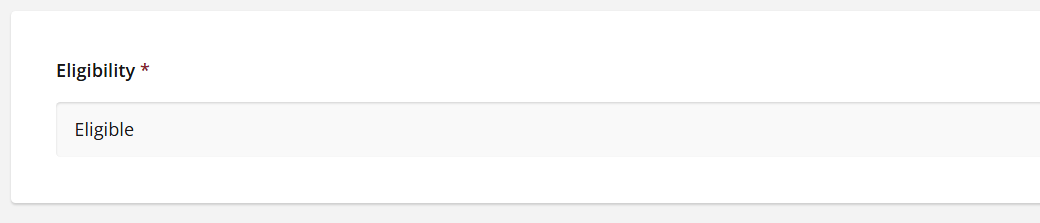
1. Eligible
- They can proceed with submitting the application.
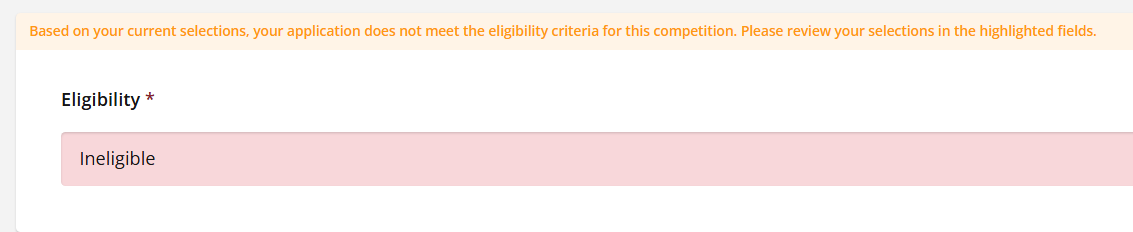
2. Ineligible but allowed to submit
- Orange text alerts them that they are ineligible and prompts them to review fields.
- Can still submit the application but will be marked as ineligible.
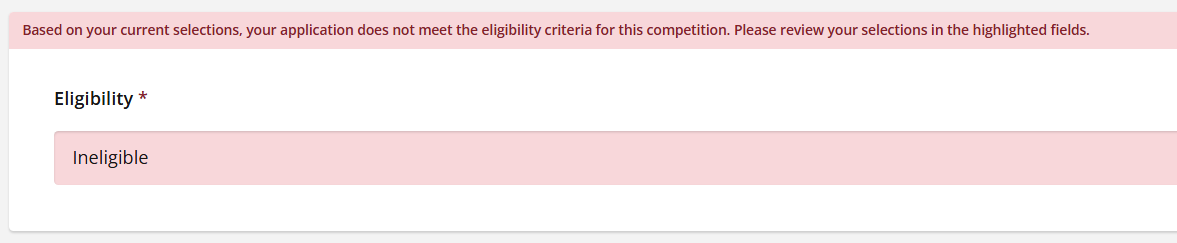
3. Ineligible and not allowed to submit
- Red text alerts them that they are ineligible and prompts them to review fields.
- They can save as draft but the "Submit" button will not appear.
Use Separate Pages
Administrators can send ineligible users to a separate page to ensure they stop the submission process. Below are general steps to accomplish this goal. This option requires more configuration steps.
1. Create Pages
Create at least three pages:
- First page - Build eligibility question(s) here as the first stop for applicants.
- 2-# - Bulk of questions that eligible applicants will complete
- Last page - will be displayed to only ineligible applicants
Note: You can name the pages whatever you'd like and put them in any order. The important thing is to make separate pages for eligible vs. ineligible applicants.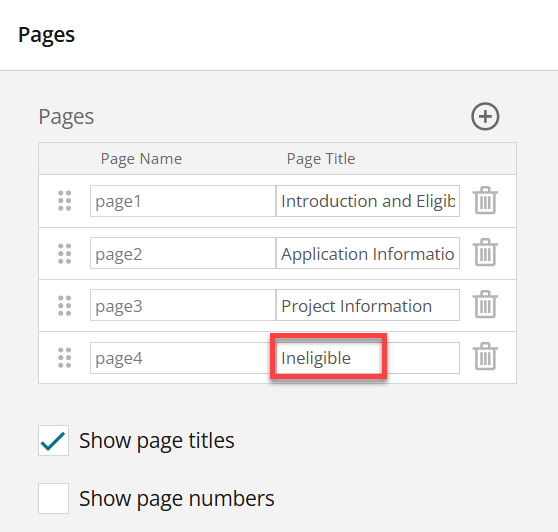
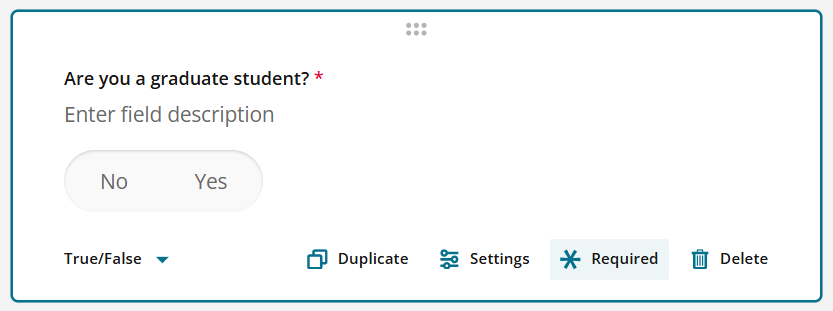
2. Add eligibility questions to first page.
Ask one or more questions that help determine if the applicant is eligible. The most common question types to use are:
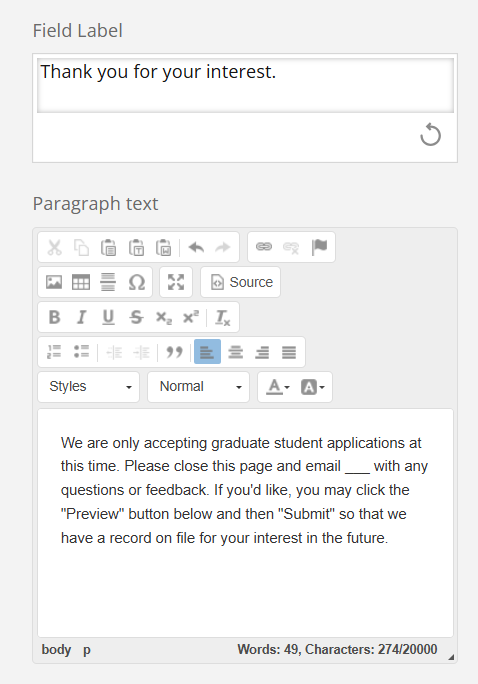
3. Add language to ineligible page (for ineligible applicants only).
- Use the Instructions field type to add clarifying language that ineligible applicants will see.
4. Add logic to ineligible page.
- Click at the top of the page and then Settings.
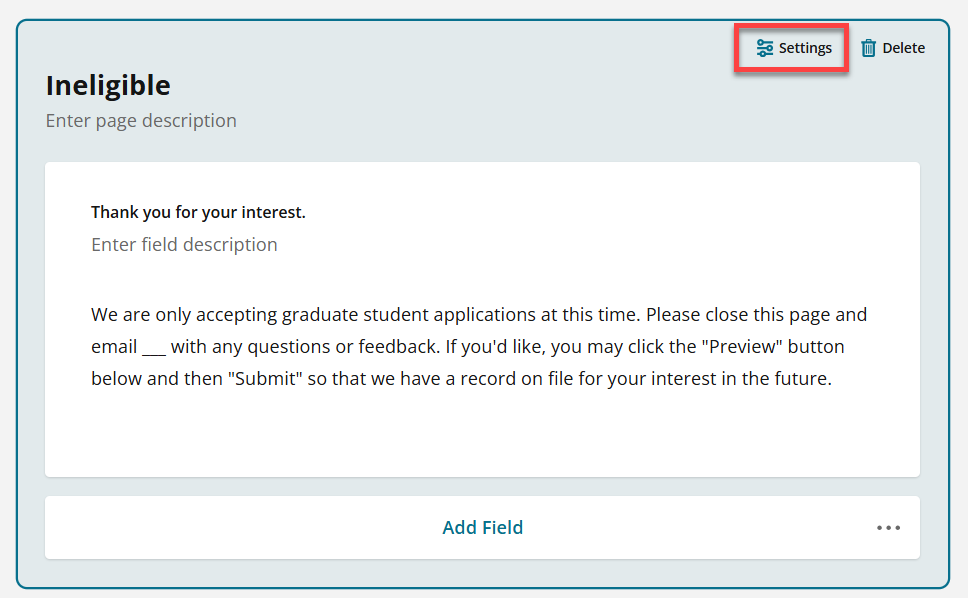
- In the Logic area, click the magic wand above Visible if.
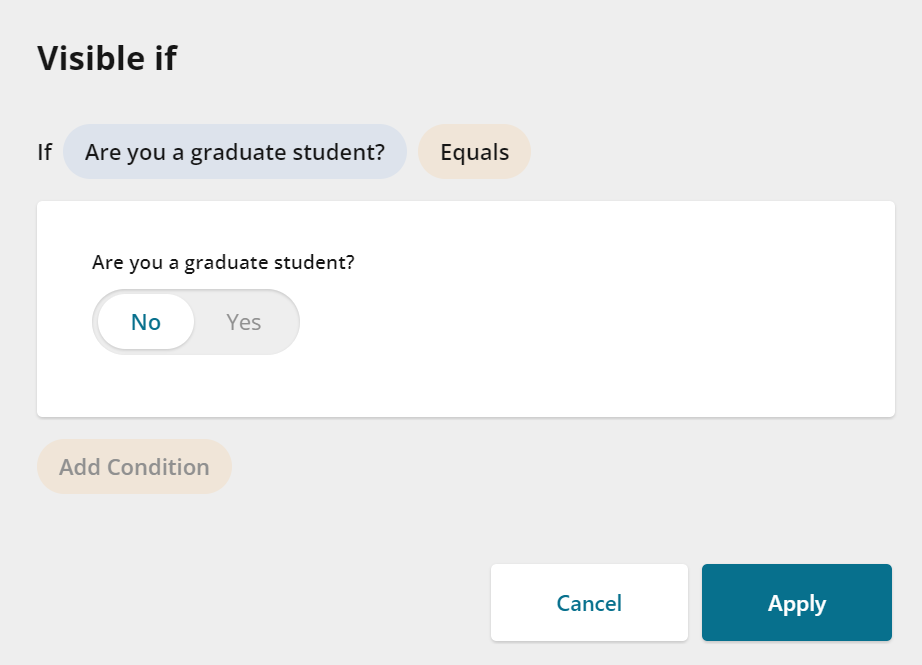
- Select the question, operator, and response. The example below shows how to build the logic so that if a user says they are NOT a graduate student, they are ineligible (and will be sent directly to the ineligible page after clicking "Next" on the introduction page).
5. Add logic to other page(s) for eligible applicants.
- Configure the logic opposite of the ineligible page so that only eligible applicants see the application page(s).
6. Create the application for eligible applicants.
- Add questions as needed to build the bulk of the application in the other page(s).
- Make sure to use the Preview function to test as different potential applicants (i.e., eligible vs. ineligible).
Have more questions about this topic? Go to the Community Forum to pose the question to other users or submit a support ticket to InfoReady.